
Have you ever refreshed your dashboard dozens of times a day just to check the link clicks during a campaign?
Chances are, you’ve experienced missing the exact moment you hit your target traffic, resulting in delayed follow-up marketing actions.
In this article, we will guide you step-by-step on how to use the Vivoldi app’s Click Push Notification feature to receive an instant smartphone alert the moment you reach your set click goals. You will no longer need to repeatedly open your dashboard, enabling you to respond quickly without missing critical moments.
What Are Click Push Notifications?
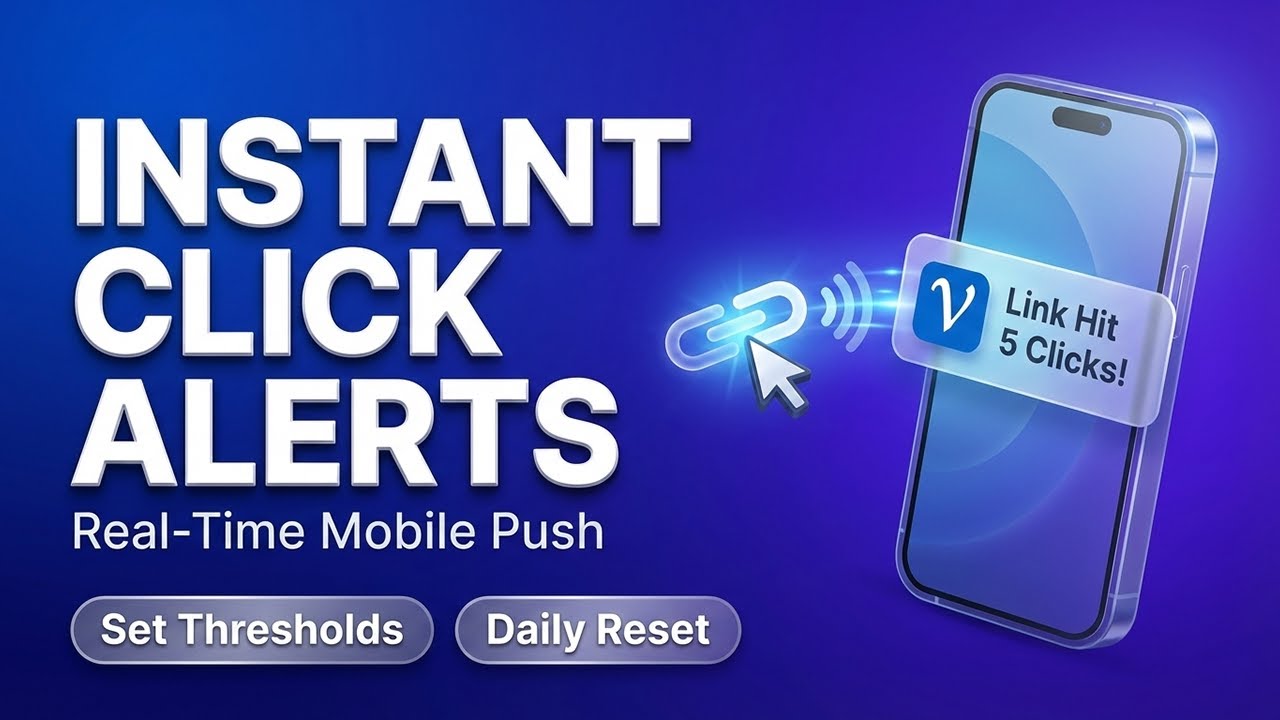
Vivoldi’s click push notifications send real-time alerts to the Vivoldi mobile app the exact moment a short link’s cumulative clicks match a pre-defined target goal set by the user.
For instance, if you set your target clicks to 100, an instant alert will hit your app the moment the link (e.g., vvd.bz/abc) is clicked for the 100th time. It may seem like a simple alert, but the operational efficiency this feature brings is far greater than you might expect.
Traditionally, tracking performance required manually logging into a website or app dashboard. Even if this sounds simple, managing multiple links daily or during high-stakes events can cause a significant drain on your time and focus. The push notification feature completely automates this repetitive task.
How to Set Up Push Notifications – Step-by-Step Guide
Step 1: Install and Log In to the Vivoldi App
To receive push notifications, you must first have the Vivoldi app installed on your smartphone. Android users can find ’Vivoldi’ on the Google Play Store, and iOS users on the Apple App Store.
After installation, ensure you remain logged into your account. Alerts will not be sent if you are logged out, so be sure to check this. App notification permissions must also be granted to receive alerts successfully.

Step 2: Enable the Click Push Notification Option When Creating a Link
When creating a new short link on the Vivoldi website or app, you will see a ’Click Push Notification’ option. Checking this box activates the goal alert feature specifically for that link.
For previously created links, you can set this up by entering the edit mode in the link management screen. However, keep in mind that the target value you set operates based on the total cumulative clicks, not starting from zero after editing. Therefore, it is highly recommended to check the current click count before setting the goal.
Step 3: Enter Target Clicks
Once the option is enabled, a field will appear for you to enter your target number.
For example, if you want to know when the 100th click occurs on an event link (e.g., vvd.im/event), simply input 100.
If you want to track multiple milestones, you can enter several numbers separated by commas.
For example, entering 50, 100, 500 will trigger a separate notification every time each milestone is reached. This allows you to track the early, middle, and peak stages of your campaign sequentially.

Step 4: Automate Checks by Setting as Default
For users who frequently generate links, manually checking the option every time can be tedious. Vivoldi offers a feature in the Default Setting menu to keep ’Click Push Notifications’ enabled by default.
Applying this setting ensures the option is automatically checked whenever you create a new link, preventing accidental omissions. This is particularly useful for teams running frequent marketing campaigns or managing multiple links simultaneously.
Practical Use Cases – When to Use This Feature
Managing First-Come, First-Served Events
When running an event offering rewards to the first 100 or 500 participants, setting your click target to match that number allows you to know exactly when the event concludes in real-time. Team members can respond instantly via smartphone alerts without having to monitor the dashboard constantly.
Monitoring Campaign KPI Checkpoints
If a campaign’s monthly click goal is 10,000, you can set alerts for three mid-point milestones: 3,000, 7,000, and 10,000. Receiving notifications at each checkpoint allows you to take timely actions, such as adjusting ad budgets or distributing additional content based on the progress.
Tracking Content Performance
This feature is highly valuable when tracking engagement on links inserted into blog posts or social media updates (e.g., vvd.bz/post01). For influencer collaborations or partnership content, it serves as a real-time verification tool for promised reach metrics.
Preparing Server and Infrastructure Responses
Setting threshold alerts for links prone to traffic spikes can help your operations team prepare in advance for server load balancing or inventory management. It acts as a vital communication bridge that facilitates swift collaboration between marketing and technical teams.

Preventing Alert Fatigue – Tips for Smart Management
While real-time alerts are convenient, too many can be counterproductive. Vivoldi provides solutions for this as well.
Disable Alerts for Non-Essential Links
It is best practice to disable alert options for low-priority or routinely operated links. You can toggle this On/Off at any time in the link management screen, allowing you to adjust flexibly based on your needs.
Combining Push and Email Notification Strategies
In addition to app push notifications, Vivoldi also supports email alerts. It is highly effective to separate these two channels based on their purpose.
- App Push Notifications: Critical campaigns requiring real-time responses, first-come events, and situations demanding immediate action.
- Email Alerts: Daily/weekly performance reports, mid-term checks for long-running campaigns, and updates needing team distribution.
Distributing channels this way ensures you never miss crucial alerts while simultaneously minimizing alert fatigue.
Avoid Setting Overly Dense Target Numbers
Setting targets too closely together, such as 1, 2, and 3 on a highly active link, will flood your device with notifications in a short time. If your goal is performance tracking, we recommend setting targets in meaningful increments (e.g., blocks of 100 or 1,000).
What to Check If Notifications Don’t Arrive
If your clicks have reached the target but you are not receiving alerts, verify the following checklist in order:
- Confirm the Vivoldi app is installed on your smartphone.
- Ensure you remain logged in to your account on the app.
- Check that smartphone app notification permissions are allowed (Device Settings > Apps > Vivoldi > Notifications).
- Verify whether Power Saving mode or Do Not Disturb mode is active.
- Double-check in the link settings that the click push notification option is checked for that specific link.
If the problem persists after confirming all these points, reinstalling the app or contacting the Vivoldi customer support team is the fastest resolution.

Summary and Action Guide
The Vivoldi click push notification feature is simple to use but holds substantial value in practical operations. While the setup only involves checking a box and entering a target number upon link creation, its true impact lies in eliminating unnecessary manual monitoring time and optimizing the timing for performance-based actions.
If this is your first time, try applying it to just one active campaign link. Set the target click number slightly higher than your current count to experience receiving an alert firsthand—it is the quickest way to understand its value.
As a next step, separate your notification channels (Push vs. Email) per link based on priority, and configure the default settings so the option is automatically enabled for new links, establishing a much more systematic link management environment.
If you haven’t installed the Vivoldi app yet, get it right now from the Google Play Store or App Store, and set your very first click goal alert on one of your active links today.


