When it comes to optimizing images for the web, the WEBP format has been a game changer.
WEBP files are smaller in size, which means faster loading times and a better user experience. However, converting images to the WEBP format can be a daunting task if you don't have the right tools.
That's why we've put together the ultimate guide with the best tools to convert images to WEBP. Whether you're a web developer or a digital marketer, this guide is your one-stop resource to convert images to WEBP efficiently and effectively.
1. Why do I need to convert images to WEBP format?
Converting images to WEBP format has many benefits for website performance and user experience. Here are some reasons why you should consider making the switch
- Smaller file sizes: WEBP files are much smaller than traditional image formats like JPEG and PNG, which means faster website load times, lower bounce rates, and better user engagement. With the increasing demand for mobile browsing, where internet speeds can be slower, smaller image sizes are important for optimal performance.
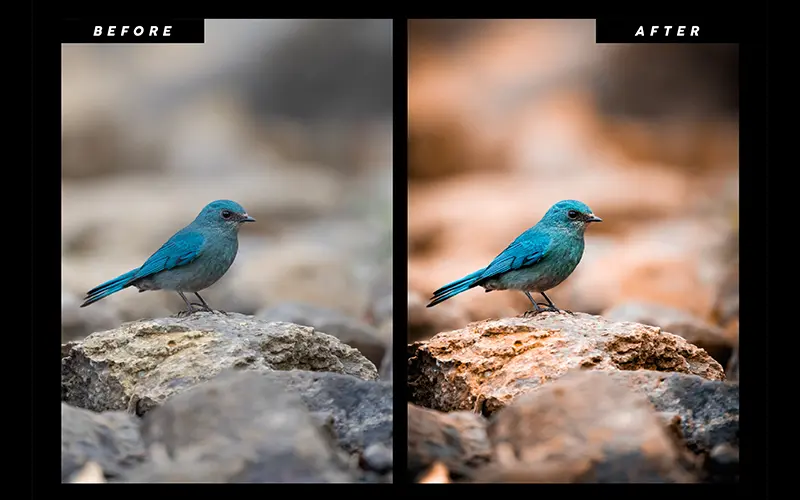
- Improved image quality: Despite smaller file sizes, WEBP maintains excellent image quality. It utilizes various compression techniques, such as lossy and lossless compression, to preserve detail and color accuracy, so images look sharp and vibrant while keeping file sizes to a minimum.
- Browser compatibility: All major web browsers including Chrome, Firefox, Safari, and Opera support the WEBP format. By converting your images to WEBP, you can ensure compatibility across different browsers to provide a seamless experience for your website visitors.
- SEO benefits: Search engines like Google prioritize the ranking of websites that load quickly. By using the WEBP format, you can increase your website's loading speed and potentially improve its search engine visibility. This can lead to increased organic traffic and better overall online visibility.
In the next section, we'll go over our top recommendations for tools that make it easy to convert to the WEBP format.
2. Benefits of using WEBP format for image conversion

Converting images to the WEBP format has a number of benefits that can significantly improve website performance and user experience. In the previous section, we discussed how WEBP files are much smaller in size, resulting in faster loading times and better engagement. WEBP also maintains excellent image quality while keeping file sizes to a minimum.
It is compatible with all major web browsers, ensuring a seamless experience for your website visitors. Adopting the WEBP format can also help your SEO by making your website load faster and improving search engine visibility. In the next section, you'll learn more about our recommendations for the best tools to ease the process of converting to the WEBP format.
3. Best tool recommendations for converting images to WEBP
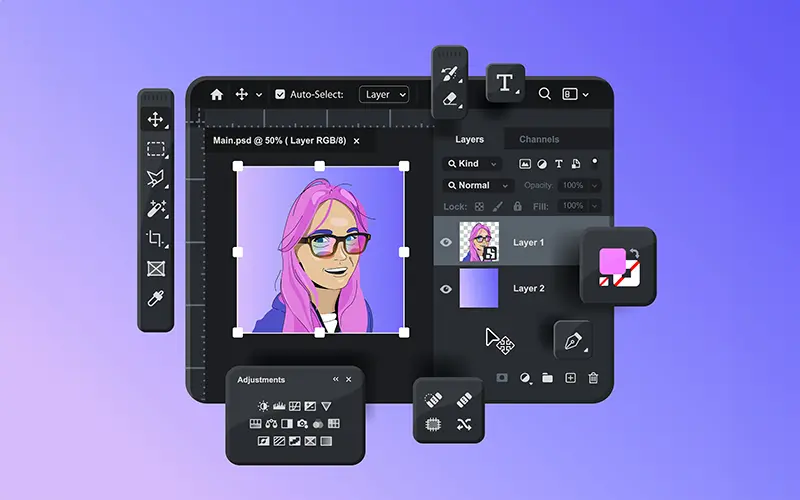
One of the best tools for converting images to WEBP is Adobe Photoshop. With this powerful image editing software, you can easily save your images in WEBP format with just a few clicks. With an intuitive interface and a wide range of features, Photoshop makes it simple to optimize your images for the web without sacrificing quality.
However, the downside is that you need to install the Photoshop program on your desktop PC and you can't convert online.
Another recommended tool is the free online WEBP converter serviced by Vivoldi. Vivoldi's WEBP converter has a user-friendly interface and allows you to easily convert and compress images to WEBP format. It also gives you the option to select the quality for image compression and change the image size when compressing.
Command For users who prefer a command-line interface, the cwebp tool is an excellent choice. Developed by Google, this command-line tool allows you to convert images to the WEBP format with customizable compression settings. It's a lightweight and efficient solution for batch converting images, making it ideal for large image libraries.
The following sections provide step-by-step instructions on how to use these tools to convert images to WEBP format. Keep reading to learn more.
4. Tool #1: Adobe Photoshop - Features and Step-by-Step Guide

Adobe Photoshop is one of the best image editing software on the market. Not only does it offer a wide range of editing features, but it also makes it easy to convert images to WEBP format. Here are some of the key features that make Adobe Photoshop the best choice for converting images to WEBP:
- User-friendly interface: Photoshop's intuitive interface makes it easy for both beginners and experienced users to navigate the software.
- High-quality conversion: With just a few clicks, you can convert images to WEBP format without losing visual quality.
- Customization options: Adobe Photoshop allows you to customize the compression settings, giving you full control over the output file size and quality.
Now let's take a look at the step-by-step guide on how to convert an image to WEBP using Adobe Photoshop:
- Open the desired image in Adobe Photoshop.
- Go to the "File" menu and select "Save As".
- Choose a location to save the converted image.
- Select "WEBP" from the "Format" drop-down menu.
- Modify the compression settings as desired, including quality and file size.
- Click "Save" to convert and save your image in WEBP format.
With these simple steps, you can easily convert images to WEBP using Adobe Photoshop. In the next section, we'll discuss another powerful tool for converting images to WEBP, so stay tuned.
5. Tool #2: Vivoldi WEBP Converter - Features and Step-by-Step Guide

Aside from Adobe Photoshop, another useful tool for converting images to WEBP format is Vivoldi's WEBP online converter. The WEBP converter provided by Vivoldi is a web-based application that provides a simple and efficient way to optimize and convert images to WEBP. Here are some key features that make it the best choice for image conversion:
- Intuitive interface: Vivoldi's WEBP converter offers a user-friendly interface that allows both beginners and professionals to easily convert images without any hassle.
- Multiple conversion options: With Vivoldi, you can not only convert images to WEBP, but also convert WEBP files to JPEG, PNG, and GIF files and vice versa. Even large image files can be reduced in resolution by specifying a separate option.
- Batchprocessing: Vivoldi allows you to convert multiple images to WEBP at the same time, saving you time and effort.
Now let's take a look at the step-by-step guide on how to use Vivoldi to convert images to WEBP:
- Open your favorite web browser and go to Vivoldi's WEBP conversion page.
- Here is the link: https://vivoldi.com/tools/webp-converter - Select the multiple files you want to convert from the file explorer and drag them onto the page. Preview and confirm the images.
- Adjust the compression settings, such as conversion quality and size, to suit your needs.
- Click the "Convert" button, wait a few moments, and save the converted images to your device.
(If you convert multiple files, you can download one compressed file)
With Vivoldi, converting images to WEBP has never been easier.
6. Tool #3: ASPOSE - Features and Step-by-Step Guide
https://products.aspose.app/pdf/ko/conversion/png-to-webp
Besides Adobe Photoshop and Vivoldi, another tool to convert images to WEBP format is ASPOSE. This tool offers a number of features that make it an excellent choice for image conversion.
1. Import cloud images: ASPOSE gives you the option to import images uploaded to the cloud, such as Google Drive and Dropbox, and convert them to WEBP.
2. Automation features: ASPOSE allows you to automate the image conversion process to convert a large number of images quickly and efficiently.
The step-by-step guide is similar to Vivoldi mentioned above.
7. Comparison of recommended tools
Now that we've discussed three powerful image conversion tools - Adobe Photoshop, Vivoldi, and ASPOSE - it's time to compare and consider which tool is best for you.
When it comes to advanced editing options, Adobe Photoshop stands out for its versatility and power. However, it can be considered a bit complicated for beginners. Vivoldi's WEBP converter, on the other hand, offers a simple and intuitive interface, making it a great choice for those looking for quick and easy image conversion.
I highly recommend Vivoldi because it's easy to use for beginners, has a good compression ratio, and great image quality. It's especially popular for webcomics, proofing, promotions, and image delivery services.
ASPOSE gives you the option to upload multiple images to the cloud and convert them instantly in your web browser.
Ultimately, the best tool for you will depend on your specific needs and level of expertise. In the next section, we'll explore more of our top tool recommendations to help you narrow down your choices and make an informed decision.
8. Conclusion - Choosing the right tool for your image conversion needs

After exploring the features and capabilities of Adobe Photoshop, Vivoldi, and ASPOSE, you can see that each tool offers unique benefits and caters to different user preferences. However, there are more options available for your image conversion needs.
Vivoldi's online tool, WEBP Converter, offers a user-friendly interface and streamlined process to convert images to WEBP. It offers a wide range of editing options to adjust image quality, size, and format. Although it lacks the advanced features of Adobe Photoshop, it is a reliable choice for beginners and individuals who prioritize simplicity and efficiency.
If you don't have a desktop PC and your images are stored in the cloud, ASPOSE is a great option. It simplifies the image conversion process with easy drag-and-drop functionality.
By considering these additional tool recommendations alongside Adobe Photoshop, Vivoldi, and ASPOSE, you can make an informed decision based on your specific needs and skill level.
Acknowledgments.


