
If you run a blog, you have likely encountered this challenge: you want to neatly insert conversion buttons like "Buy This Product", "Apply Now", or "Download App" at the bottom of a post, but the lack of coding knowledge holds you back.
Standard text links lack visual impact, creating custom image buttons is time-consuming, and managing multiple links simultaneously only adds complexity.
This guide provides a step-by-step approach to building multi-CTA button links without any coding skills, seamlessly embedding them into platforms like WordPress or Tistory. We have also included actionable tips on controlling layouts using URL parameters, ensuring you can deploy this effectively today.
What is a Button Link? Why Marketers Value It
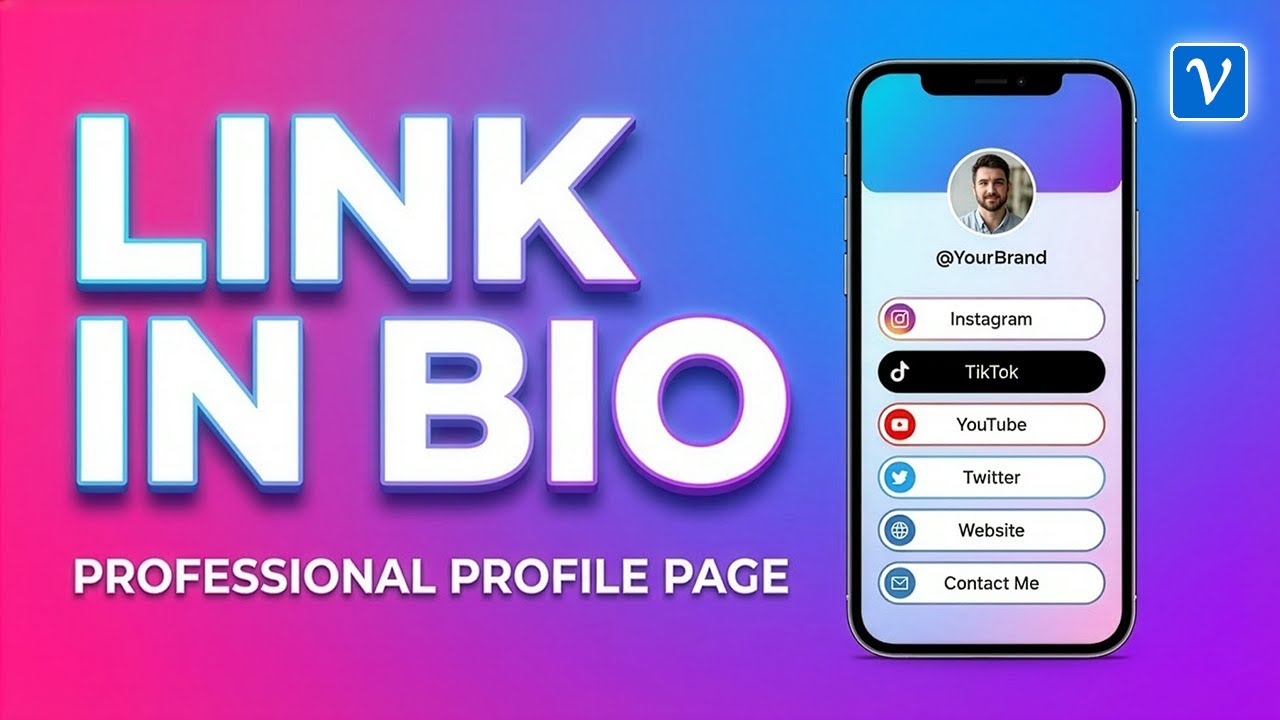
A Button Link is an efficient feature that consolidates multiple destination URLs into a clean, button-based interface accessed via a single short link.
For example, clicking a streamlined URL like vvd.im/mybrand directs visitors to a structured page displaying actionable buttons such as "Visit Official Website", "Purchase Product", and "Subscribe to Newsletter".
The value for marketing professionals is obvious: it allows you to drive multiple conversion objectives simultaneously from a single content piece.
When readers finish consuming your content and consider their next step, presenting organized button choices significantly drives up click-through rates. It demands higher visual focus and projects a much more professional image than a clustered list of text links.
Previously, deploying this required HTML and CSS expertise or dependence on external services like Linktree. However, utilizing the built-in button link capabilities of a dedicated short URL service achieves optimal results with maximum efficiency.
Essential Prerequisites: Environment and SEO Setup
Always Create on Desktop or Tablet
Creating and configuring button links is not supported in mobile environments. Ensure you initiate this process on a tablet or desktop PC with adequate screen space. Naturally, your audience can view and interact with the finalized links across all devices, including mobile.
Link Titles and Summaries Act as SEO Meta Tags
The link title and summary information you input during creation are more than display text. These elements function directly as Meta Tags, which search engines use to index and rank the page. Ultimately, these dictate the headline and description displayed in search results.
Failing to optimize these fields means wasting a critical SEO opportunity. Always integrate primary target keywords. For instance, a product review blog should use formats like "Brand Name + Product Name + Official Purchase Link" to maximize organic search visibility.

Customizing Button Pages with Brand Colors and Logos
Beyond the default layout, button link pages can be tailored to align perfectly with your brand identity. The most prominent feature is the button background color. By inputting your brand’s exact HEX code or utilizing the color picker, the buttons instantly adopt a professional, branded aesthetic.
You maintain full control over font styles and background shades. Leveraging Vivoldi’s online HEX, RGBA Color Picker makes identifying and applying your precise brand colors highly efficient.
The logo and page title at the top of the interface are managed globally via the ’Organization Settings’ menu, rather than individually per button. Configuring this accurately once automatically ensures consistent brand identity across all future button links created under your account.
Individual content creators can register channel logos or avatars, while corporate teams can upload official company logos to establish immediate credibility with visitors.
Controlling Layouts Dynamically with URL Parameters
One of the most powerful capabilities of button links is layout control via URL parameters. By simply appending specific parameters to your generated link, the visual structure transforms entirely. This is exceptionally beneficial for native blog embeddings.
3 Core Parameters
The primary options currently supported are:
- mode=head: Hides the top header area and bottom copyright text. The logo is removed, ensuring the core button list remains prominent.
- mode=simple: Strips away all extraneous elements including headers, copyrights, and whitespace padding. Only the interactive buttons are rendered.
- w=full: Maximizes the horizontal width of the buttons to fill the container. Fully compatible with other parameter options.
For example, utilizing a combination like vvd.im/mylink?mode=simple&w=full outputs edge-to-edge buttons that look like seamlessly integrated native UI elements within your blog post.
The visual difference is substantial. Embedding the default URL displays the entire standalone page with logos and padding, which may clash with your blog’s theme. Conversely, combining mode=simple and w=full ensures a clean, integrated aesthetic, functioning as if custom-coded directly into your site.

Sorting Buttons and Embedding into Blog Content
Intuitive Drag-and-Drop Sorting
When dealing with multiple buttons, hierarchy is crucial. Standard marketing strategy dictates placing the highest-priority conversion goal (e.g., direct purchase) at the top, with secondary actions cascading below.
To reorder, simply drag the arrow icon up or down located next to each button in your dashboard. Changes are executed in real-time without requiring manual saves, optimizing your workflow.
Universal Compatibility with HTML Editors
The finalized button link is exported as an HTML code snippet. Deploying this requires nothing more than pasting the code into any platform supporting standard HTML input. In WordPress, simply insert a ’Custom HTML’ block and paste the snippet.
For platforms like Tistory, toggle the editor from ’Basic Mode’ to ’HTML Mode’, paste the code into your targeted section, and switch back. The buttons will render instantly. It requires zero programming background.
This methodology extends far beyond standard CMS platforms, proving effective on Notion, Weebly, Wix, and even HTML-enabled email newsletter clients.

Measuring Marketing ROI with Click Analytics
A definitive advantage of utilizing dynamic button links is that click data is logged automatically. You gain actionable statistics on which buttons generate the most engagement, allowing you to optimize CTA copy and destination routing based on empirical data.
However, precision in data analysis is vital: counts may register simply upon a visitor accessing the button link page. To accurately calculate your conversion rate, you must distinguish top-level page accesses from dedicated button clicks. Analyzing data with this distinction guarantees accurate mapping of your marketing ROI.
If you operate a monetized blog, identifying which posts drive the highest button conversions enables a targeted content strategy, empowering you to scale production on high-performing topics.
Practical Use Cases
Here are specific scenarios where button links deliver immediate value.
A tech review blogger can cluster three decisive CTAs at the end of an article: "Official Site", "Lowest Price Match", and "Apply Discount Code". This eliminates friction for the reader, funneling them toward conversion immediately.
An e-learning instructor can feature "Start Free Trial", "Enroll in Full Course", and "Download Syllabus PDF" beneath a course overview. Offering tiered engagement paths aligned with the user’s intent drastically amplifies conversion opportunities.
A campaign marketer can deploy a single short URL (vvd.bz/event2025) across print media or digital ads. The internal button structure—"Join Event", "View Prizes", "Refer a Friend"—can be modified on the backend in real-time as the campaign evolves, without ever altering the source URL.

Alternative Tools: Making the Right Choice
Platforms like Linktree and Later dominate the ’Link in Bio’ space. These tools are heavily optimized for consolidating content via a single social media bio link and boast extensive visual themes.
Conversely, a short URL service’s integrated button link feature excels primarily in native blog embedding. The ability to inject it seamlessly via an HTML iframe and granularly manipulate layouts using URL parameters sets it apart. Furthermore, combining link shortening with click analytics delivers streamlined performance tracking without requiring third-party plugins.
Compared to manual HTML/CSS development, this solution removes technical barriers and allows subsequent content updates without re-pasting the source code. As your content library scales, the operational efficiency of managing centralized button assets rather than editing hundreds of individual posts becomes an undeniable asset.
Summary: 3 Steps to Deploy Today
We have covered the end-to-end process of deploying button links—from creation and SEO formatting to layout control and HTML embedding. Here is the streamlined execution plan:
- Step 1 – Creation: Generate the button link on a desktop platform. Optimize your meta tags by injecting high-value SEO keywords into the title and summary.
- Step 2 – Customization: Configure brand colors, globally register your logo in organization settings, and strategically sequence the buttons to maximize conversions.
- Step 3 – Integration: Export the HTML code using a URL enhanced with
mode=simple&w=fullparameters and embed it directly into your blog’s HTML editor.
A highly structured CTA layout converts drastically better than isolated text links. Despite the minimal technical effort required, the subsequent boost to your content’s professionalism and conversion rate is profound. Integrate this strategy into your next published post to see immediate results.


